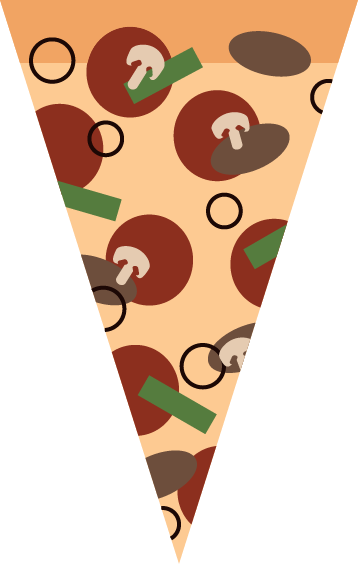
 For this project, we were tasked in making a pizza slice in Illustrator. We mainly focused on vector graphics and simple shapes, rather than realistic photos and pixels and such. The program, I felt was pretty similar to photoshop, if not easier to use with the straightforward tools.
To create this pizza slice, I mainly used the shape tools (rectangle, ellipse, etc.) and the shape builder tool. This shape builder tool was used to combine and edit shapes to my will. I used this to create the mushroom and cut off the edges of some of the toppings. Overall, I enjoyed using illustrator and found it rather fun and simple to use, and I really like how my pizza turned out.
0 Comments
I began this project by taking my tank model and unwrapping it in 3Ds Max. By this, I mean that I was allowed to gain access to different elements to help me create an unwrapped version of my model. First, I added seams to the model and tell 3Ds Max where the model should open up and flatten out, akin to how a box would unfold.. I then worked with the seams and stitched them together to other parts using the Unwrap modifier to the model. This allowed me to cherry pick certain areas and connect them together. For example, I connected the cannon together into one piece and the singular parts of the wheels were connected too. Once everything was connected and flattened and saved into a template, I opened it in Photoshop. I then colored it in photoshop using the magic wand and the fill tool. Once it was colored, I added it back onto the model in 3Ds Max using the Materials tab and a bitmap.
I liked the coloring part of the project, as it was the easiest. My least favorite part, on the other hand, was the stitching and seam making in 3Ds Max, as it caused my many technical difficulties, especially with the complexity of my model. I can most likely use this lesson in real life if I get a job in creating unwrapped models for a video game company, or something along those lines. Overall, this assignment was quite complicated and not very fun to me, but it taught me about how to use seams, stitches, and how to overall unwrap and colors models in 3Ds max and Photoshop. For this project, we were tasked in making a shipment box. To do this, I created a box primative, then made it into an editable poly. I added a modifier to the shape to make sure I didn't run into any issues when adding the materials. I then opened the materials tab to add on the images to the shape. I first created a multi/sub object and then connected a standard material to each point on the sub object. This would give me an organized and separate space to add each bitmap. I added each image to their respective materials and connected this to the box to add them on. it was then that I noticed that some of the images didn't align. To fix this, I went to the bitmaps that weren't aligned properly and adjusted their angles. Then, voila! I had made a box!
Overall, this project was rather simple and got me more accustomed to the materials tab. I'm sure that with this knowledge under my belt, I will be able to take on slightly more challenging projects or assignments. |
